Christmas Ornament Painting
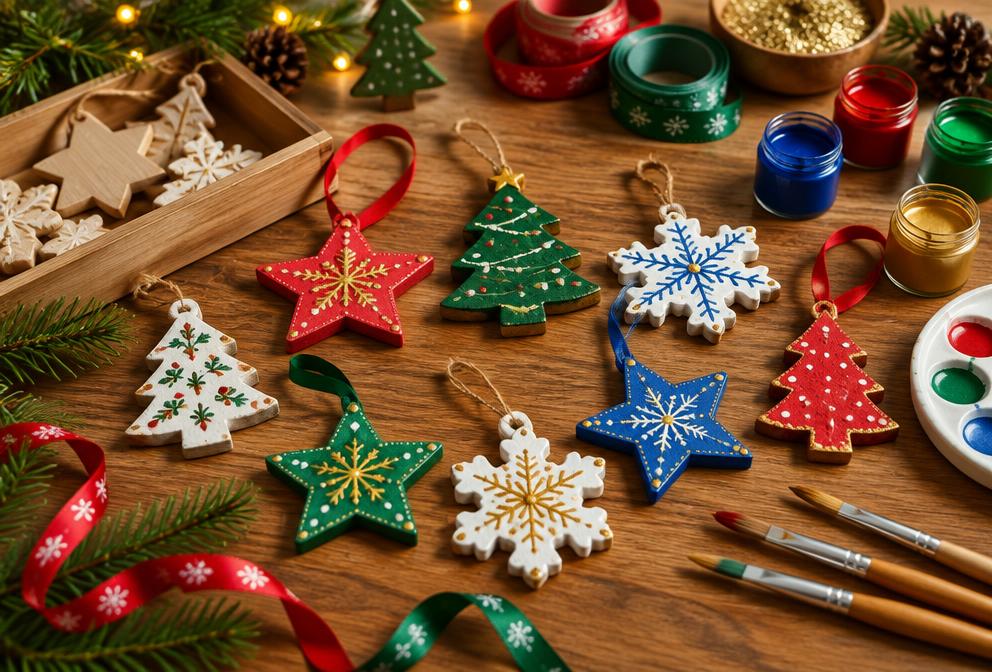
Plain wooden or plastic baubles become handmade tree decorations with just a few pots of paint and a fine brush.
By WonderCraft Kids Editorial Team, Editorial team · Updated 14 September 2026
Painting a blank ornament gives children a finished, useful object rather than a picture that ends up in a drawer, and it becomes a small yearly tradition if you keep one aside to compare against next year's attempt. Plain wooden discs or plastic baubles are cheap and forgiving, taking several coats without falling apart the way paper can. Prop them on cups or skewers to dry so the paint does not pool at the bottom.
What you need
- Plain wooden or plastic bauble ornaments, one per child
- Acrylic or washable paint, 4-5 colours
- Fine and medium paintbrushes
- A cup or egg carton to hold each ornament steady
- String or ribbon for hanging
- Newspaper or a wipe-clean mat
Step by step
- 1
Cover the table and set each ornament resting in a cup or egg carton hole so it does not roll.
- 2
Paint a base coat and leave it to dry fully before adding detail, which usually takes about twenty minutes.
- 3
Add stripes, dots or a simple picture with a finer brush once the base coat is dry to the touch.
- 4
Loop a length of ribbon or string through the ornament's hanging loop.
- 5
Leave finished ornaments propped upright somewhere safe for a few hours to cure fully.
- 6
Write the year on the underside in permanent marker before hanging it on the tree.
What kids learn
Patience with drying time
Waiting for a base coat to dry before adding detail gives children practice with delayed gratification in a low-stakes way.
Fine motor precision
Painting a small, curved surface asks for more careful brush control than a flat sheet of paper.
A sense of tradition
Making and dating an ornament each year can give children a chance to see their own progress and mark the passing of time.
Make it easier
Use a large wooden disc rather than a round bauble, since a flat surface is much easier to hold steady while painting.
Make it more challenging
Try a two-colour marbled effect by swirling wet paint together with a cocktail stick before it dries, or add a thin layer of glitter glue over a dry base coat.
Safety and supervision
- Choose wooden or plastic ornaments rather than glass for children to paint, since glass can shatter if dropped.
- Use non-toxic, washable or acrylic paint suitable for the child's age.
- Supervise use of any fine glitter or sequins, which are a choking hazard for children who still mouth objects.
Adult supervision is required for every activity on this site. Read our full child safety guidelines.
Pin this activity
A 2:3 vertical graphic, sized 1000×1500 for Pinterest. Save it for later or share it with another parent.
wondercraftkids.com
Christmas Ornament Painting
Ages 3-8 · 25 min · low mess
Ages 3+ · Low mess
Suggested pin description
Christmas Ornament Painting: Plain wooden or plastic baubles become handmade tree decorations with just a few pots of paint and a fine brush. Ages 3+, 35 minutes total, low mess. Full step-by-step instructions and a materials list at WonderCraft Kids.
Free download
Get the FREE 20 Screen-Free Activities Pack
Twenty printable activity cards for ages 2–8, sorted by time and mess level. One email, no spam, unsubscribe any time.
Frequently asked questions
Can we reuse old baubles instead of buying blank ones?+
Yes, lightly sand a plain-coloured bauble first so the new paint has something to grip, then paint as usual.
How long before the ornaments are fully dry to hang?+
Acrylic paint is usually touch-dry within an hour, but leave the ornament propped upright for several hours, or overnight, before hanging it to avoid smudging.