Paint-Your-Own Plaster Figures
Pre-cast plaster stars, animals and shells take paint beautifully and finish as display-worthy keepsakes.
By WonderCraft Kids Editorial Team, Editorial team · Updated 4 September 2026
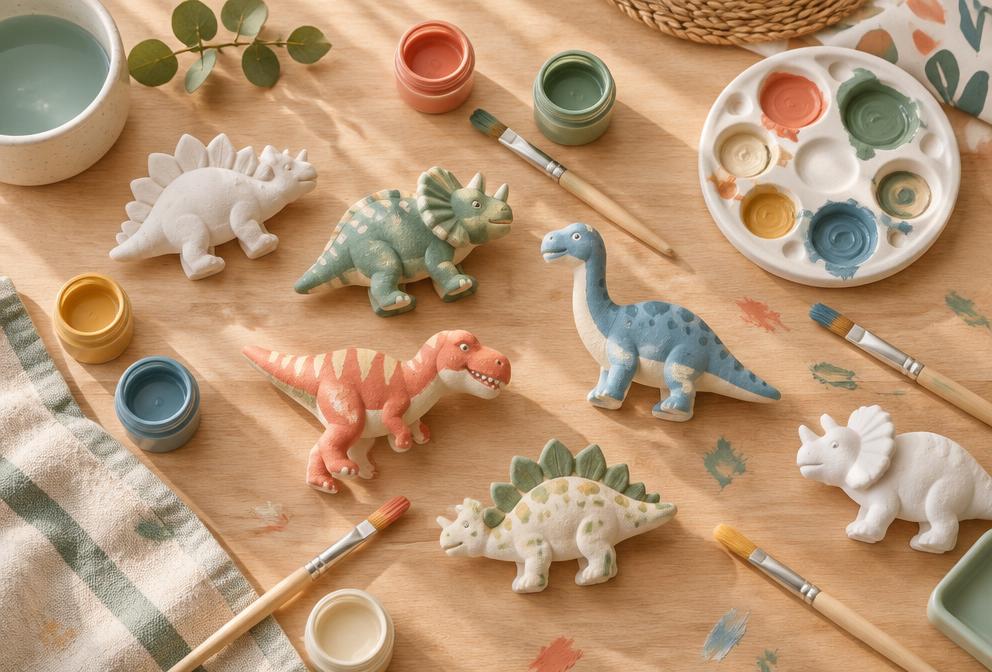
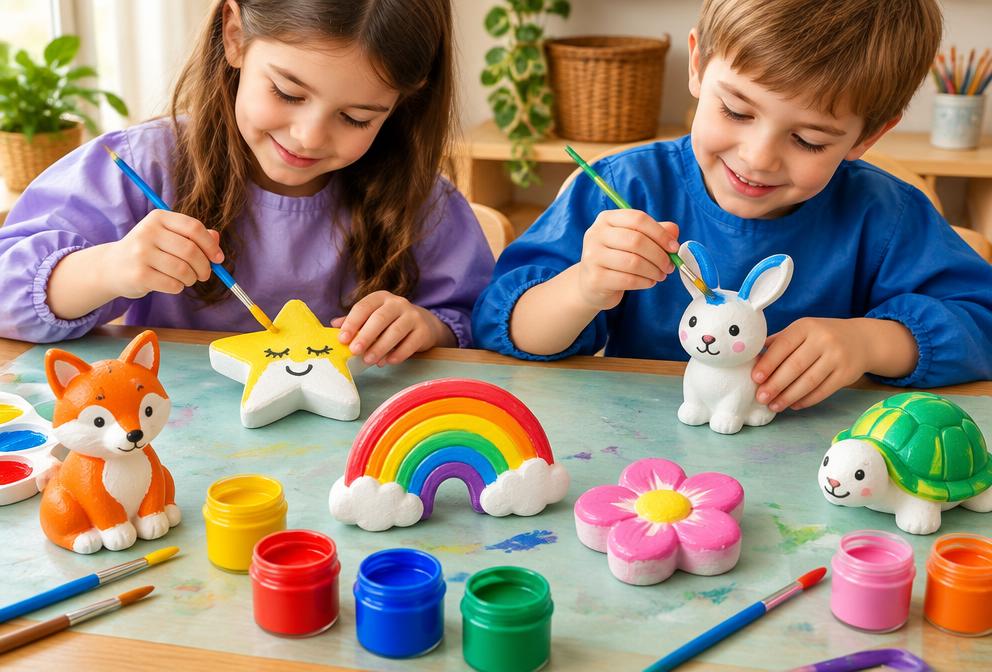
Plaster figures give children an object that already looks finished, so the whole session is about colour rather than shape. Stars, shells and simple animal casts are forgiving of an uneven brushstroke and dry into something sturdy enough to sit on a shelf. It works well as a rainy afternoon project split across casting and painting, or you can start straight from ready-made blanks if you want to skip the mixing stage.
What you need
- Plaster of Paris (or ready-cast plaster blanks)
- Silicone moulds — stars, shells, simple animals
- Water and a mixing jug you do not love
- Washable or acrylic paint, 4-6 colours
- Small brushes
- Newspaper and a wipe-clean mat
Step by step
- 1
An adult mixes the plaster to the exact packet directions in a ventilated area, keeping dry powder away from children.
- 2
Pour into the moulds, tap the tray to release air bubbles, and leave for around 40 minutes.
- 3
Pop the casts out gently and leave them to cure fully for a few hours or overnight.
- 4
Set out one brush per colour so there is less rinsing mid-session.
- 5
Paint a base coat, let it dry for ten minutes, then add detail such as spots or patterns.
- 6
Once fully dry, a thin coat of watered-down PVA glue gives a glossy, protective finish.
What kids learn
Cause and effect
Watching wet plaster set and warm up gives children a chance to observe a real material change happening in front of them.
Patience across steps
Casting, curing and painting on different days can help children practise waiting for a result rather than rushing to the end.
Brush control
Painting into a moulded surface with raised and recessed areas demands slower, more deliberate brush movements than flat paper.
Make it easier
Buy pre-cast blanks and start straight at the painting stage with three colours and fat brushes.
Make it more challenging
Cast a whole matching set — say, five shells — and ask for a colour scheme that ties them together as a display.
Safety and supervision
- Adults should mix the plaster; dry plaster dust irritates lungs and eyes if inhaled.
- Never pour plaster waste down a sink or drain, as it sets hard in pipes — let leftovers harden in a container and bin them.
- Plaster warms while curing; children must not touch it, grip the mould or place fingers in the plaster until it is fully set and cool.
- Pre-cast figures are the simpler and safer option if you want to skip the mixing step with younger children.
Adult supervision is required for every activity on this site. Read our full child safety guidelines.
Pin this activity
A 2:3 vertical graphic, sized 1000×1500 for Pinterest. Save it for later or share it with another parent.
wondercraftkids.com
Paint-Your-Own Plaster Figures
Ages 3-7 · 30 min · some mess
Ages 3–7 · Some mess
Suggested pin description
Paint-Your-Own Plaster Figures: Pre-cast plaster stars, animals and shells take paint beautifully and finish as display-worthy keepsakes. Ages 3–7, 50 minutes total, some mess. Full step-by-step instructions and a materials list at WonderCraft Kids.
Free download
Get the FREE 20 Screen-Free Activities Pack
Twenty printable activity cards for ages 2–8, sorted by time and mess level. One email, no spam, unsubscribe any time.
Frequently asked questions
Do I have to mix the plaster myself?+
You can skip mixing entirely and buy pre-cast blanks; the painting stage is identical either way.
What paint gives the best finish on plaster?+
Acrylic gives the brightest, most durable colour, though washable paint works well and is easier around clothing.