Slime Making
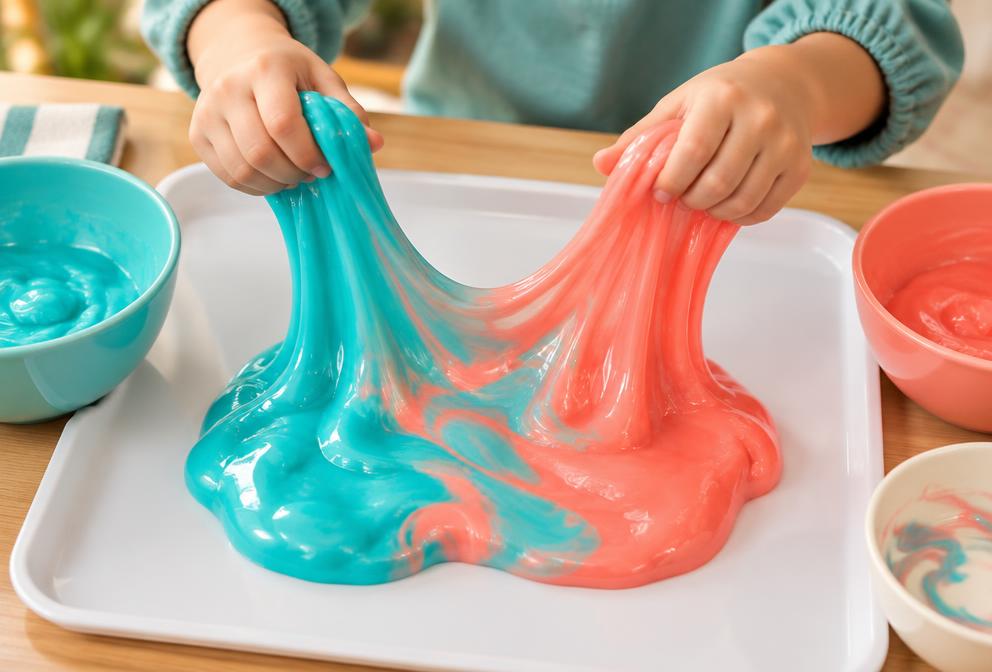
Glue, activator and a few minutes of kneading make a stretchy slime that turns into its own sensory play session.
By WonderCraft Kids Editorial Team, Editorial team · Updated 10 September 2026
Slime making has two acts: the slightly scientific stage of watching liquid glue transform into a solid, and the much longer stage of stretching, poking and squishing the result. Most of the mixing can be handed to a child directly, which makes it feel like their own experiment rather than a craft you did for them. It does need a wipe-clean surface, since uncured glue is sticky before it sets.
What you need
- 1 cup PVA glue (clear or white)
- 1/2 tsp bicarbonate of soda
- 1-2 tbsp contact lens solution (containing borate) as activator
- Food colouring or glitter (optional)
- A mixing bowl and spoon
- A wipe-clean tray or mat
Step by step
- 1
Pour the glue into the bowl and stir in food colouring if using.
- 2
Add the bicarbonate of soda and mix until fully combined.
- 3
Add the contact lens solution a little at a time, stirring as it starts to thicken.
- 4
Once it pulls away from the sides of the bowl, take it out and knead with your hands.
- 5
Keep kneading for a minute or two until it feels smooth and stretchy rather than sticky.
- 6
Store in an airtight container between uses; it will dry out if left uncovered.
What kids learn
Simple chemistry
Watching a liquid turn solid gives children a chance to see a real chemical reaction happen in their own hands.
Following a recipe
Measuring and adding ingredients in order can help children practise sequencing and following instructions.
Tactile exploration
The repetitive stretching and squeezing of finished slime can be a calming activity for children who like tactile input.
Make it easier
Buy a pre-mixed slime kit and let a younger child focus on the kneading and glitter stage only.
Make it more challenging
Experiment with ratios to make a stiffer or more stretchy batch and keep notes on what changed.
Safety and supervision
- Use only the listed child-sized quantities; never mix cleaning products or substitute other household chemicals.
- Slime is not for eating, and this activity is not suitable for any child who still puts materials in their mouth, including some four-year-olds.
- Wash hands after playing and keep slime away from hair, carpets and soft furnishings.
Adult supervision is required for every activity on this site. Read our full child safety guidelines.
Pin this activity
A 2:3 vertical graphic, sized 1000×1500 for Pinterest. Save it for later or share it with another parent.
wondercraftkids.com
Slime Making for Kids
Ages 4-8 · 25 min · some mess
Ages 4+ · Some mess
Suggested pin description
Slime Making for Kids: Glue, activator and a few minutes of kneading make a stretchy slime that turns into its own sensory play session. Ages 4+, 30 minutes total, some mess. Full step-by-step instructions and a materials list at WonderCraft Kids.
Free download
Get the FREE 20 Screen-Free Activities Pack
Twenty printable activity cards for ages 2–8, sorted by time and mess level. One email, no spam, unsubscribe any time.
Frequently asked questions
Is slime safe without borax?+
Contact lens solution containing borate can activate this recipe, but it still requires close adult supervision, careful measuring and hand-washing afterwards.
How long does homemade slime last?+
Around one to two weeks in an airtight container, though it will gradually dry out and become less stretchy.