DIY Sensory Bottle
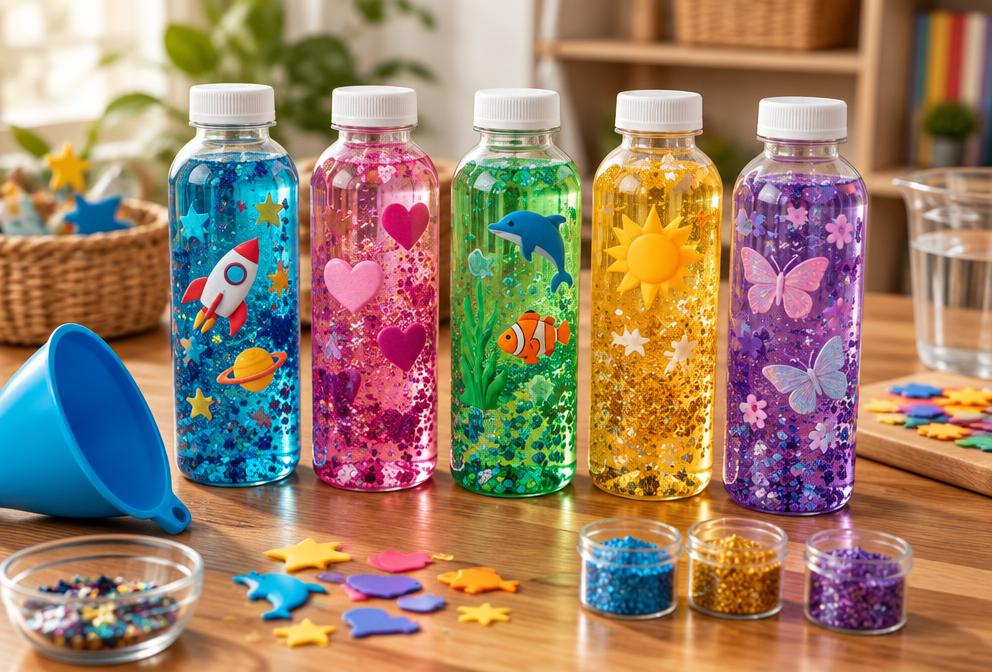
A sealed bottle of water, glitter and small floating beads becomes a calming shake-and-watch toy.
By WonderCraft Kids Editorial Team, Editorial team · Updated 14 September 2026
A sensory bottle contains slow-moving glitter, beads or sequins for quiet visual play. Once the lid is securely glued shut, it can be stored for supervised use at home or on a journey.
What you need
- A clean, clear plastic bottle with a secure lid
- Warm water
- Clear glue or hair gel (for a slower-moving liquid)
- Fine glitter
- Small sequins, beads or confetti
- Strong glue or tape to seal the lid permanently
Step by step
- 1
Fill the bottle about a third full with clear glue or hair gel to slow down the movement inside.
- 2
Top up with warm water, leaving a small gap of air at the top.
- 3
Add a pinch of glitter and a small handful of sequins or beads.
- 4
Screw the lid on tightly and shake gently to check the mixture moves the way you want.
- 5
Adjust with more water for faster movement or more glue for slower, dreamier movement.
- 6
Seal the lid permanently with strong glue or tape once you are happy with the mix.
What kids learn
Calming focus
Watching glitter settle slowly gives children a chance to practise focusing attention on one gentle, repetitive thing.
Cause and effect
Shaking harder or softer changes how the contents move, letting children test and observe a simple science idea.
Vocabulary for feelings
A sensory bottle can give a name to slowing down, which is a useful shared reference when talking about big emotions.
Make it easier
Use only water and glitter, skipping the gel, for a simpler and quicker version to make together.
Make it more challenging
Experiment with two bottles of different glue-to-water ratios and compare how fast the glitter settles in each.
Safety and supervision
- Small beads and sequins are a choking hazard; seal the lid permanently and check it regularly for leaks.
- Not suitable as a toy for children who still try to open or bite bottles, until the lid seal is tested and secure.
- Adults should handle any warm water used to help the glue mix.
Adult supervision is required for every activity on this site. Read our full child safety guidelines.
Pin this activity
A 2:3 vertical graphic, sized 1000×1500 for Pinterest. Save it for later or share it with another parent.
wondercraftkids.com
DIY Sensory Bottle
Ages 2-6 · 10 min · low mess
Ages 2–6 · Low mess
Suggested pin description
DIY Sensory Bottle: A sealed bottle of water, glitter and small floating beads becomes a calming shake-and-watch toy. Ages 2–6, 25 minutes total, low mess. Full step-by-step instructions and a materials list at WonderCraft Kids.
Free download
Get the FREE 20 Screen-Free Activities Pack
Twenty printable activity cards for ages 2–8, sorted by time and mess level. One email, no spam, unsubscribe any time.
Frequently asked questions
How do I stop my child opening the bottle?+
Glue the lid on with a strong adhesive and let it cure fully, or add a layer of tape around the join as extra security.
Why is my glitter clumping at the top?+
This usually means there is too much air or too little glue; top up with a little more water and gel and reseal.