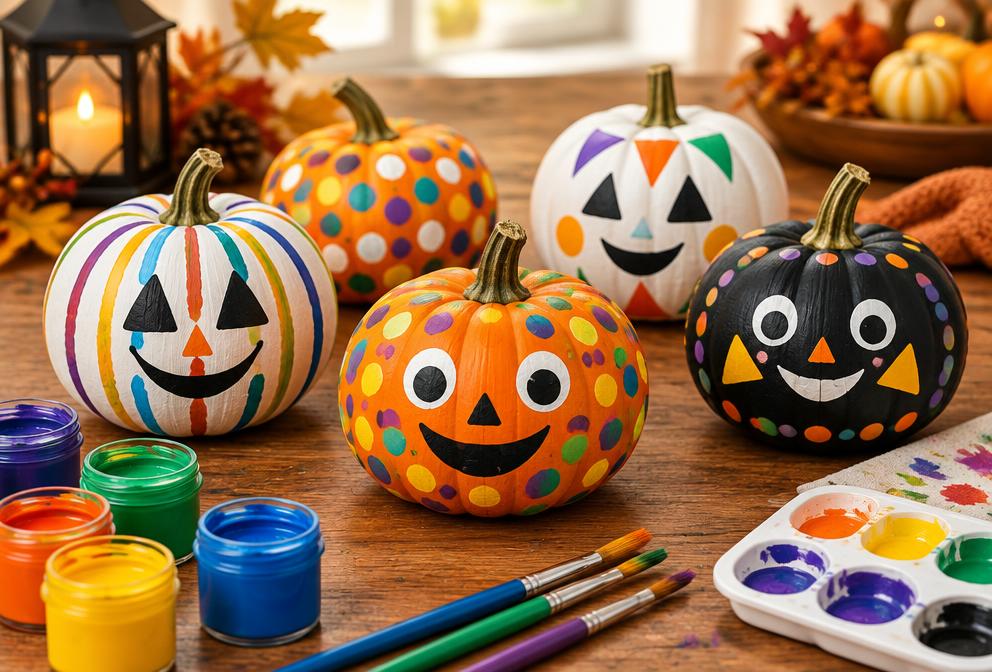
Halloween Pumpkin Painting
Painting a pumpkin instead of carving it lets younger children join in fully without any knives near the table.
By WonderCraft Kids Editorial Team, Editorial team · Updated 16 September 2026
Painting sidesteps the biggest problem with pumpkin carving, which is that carving tools are entirely unsuitable for young hands, leaving little ones stuck watching rather than doing. A painted pumpkin also lasts far longer on the doorstep than a carved one, since there is no cut flesh to rot. Wash and dry the pumpkin first, then let the whole family paint faces, patterns or whole scenes straight onto the shell.
What you need
- A whole pumpkin, washed and dried
- Acrylic or washable outdoor-suitable paint, 4-6 colours
- A range of brush sizes
- A sheet or table cover to protect the surface underneath
- A pencil for sketching a design first (optional)
- Clear varnish or sealant spray (optional, for outdoor display)
Step by step
- 1
Wash the pumpkin and dry it fully so the paint has a clean surface to stick to.
- 2
Sit the pumpkin on a covered surface and, if useful, sketch a simple face or pattern lightly in pencil first.
- 3
Paint a base layer for the main shapes, such as eyes and a mouth, and leave it to dry.
- 4
Add detail, patterns or extra colours once the base layer is dry to the touch.
- 5
Leave the finished pumpkin somewhere stable to dry fully for a couple of hours.
- 6
If it will live outdoors, add a coat of clear sealant once the paint is completely dry to help it survive the weather.
What kids learn
Design and planning
Sketching a face or pattern before painting gives children a chance to think through a plan rather than reacting shape by shape.
Working on a curved surface
Painting around a round shape rather than a flat page asks for adjusted hand movements and closer attention.
Safe seasonal participation
Painting lets younger children join a Halloween tradition fully and independently, without needing an adult to handle sharp tools on their behalf.
Make it easier
Give a toddler a small pumpkin and just two colours, letting them dab and swirl paint freely without aiming for a specific picture.
Make it more challenging
Plan a full scene across the whole pumpkin, such as a night sky or a haunted house, working in layers over several sittings.
Safety and supervision
- Keep carving tools away from this activity entirely; painting is the safer alternative and needs no sharp implements.
- Use paint labelled non-toxic and, if the pumpkin will be handled by very young children, washable rather than permanent varieties.
- Sit the pumpkin on a stable, flat surface so it cannot roll off the table mid-painting.
Adult supervision is required for every activity on this site. Read our full child safety guidelines.
Pin this activity
A 2:3 vertical graphic, sized 1000×1500 for Pinterest. Save it for later or share it with another parent.
wondercraftkids.com
Halloween Pumpkin Painting
Ages 2-8 · 30 min · some mess
Ages 2+ · Some mess
Suggested pin description
Halloween Pumpkin Painting: Painting a pumpkin instead of carving it lets younger children join in fully without any knives near the table. Ages 2+, 40 minutes total, some mess. Full step-by-step instructions and a materials list at WonderCraft Kids.
Free download
Get the FREE 20 Screen-Free Activities Pack
Twenty printable activity cards for ages 2–8, sorted by time and mess level. One email, no spam, unsubscribe any time.
Frequently asked questions
Will the painted pumpkin last as long as a carved one?+
Longer, in most cases. Without a cut opening, a painted pumpkin usually stays intact for several weeks rather than softening within days.
What paint works best on a pumpkin's waxy skin?+
Acrylic paint grips well and gives strong colour. A light sand or wipe with vinegar first can help paint adhere to a very waxy skin.